⚙️ How To Enable Secure Boot In Windows 11 => Watch On YouTube
How to Enable Secure Boot on Your Windows 11 PC
Secure Boot is a crucial security feature in Windows 11 that helps prevent malicious software from loading during the startup process. If you’re looking to enable it on your system, here’s a straightforward guide to walk you through the process.
Step 1: Check Your Current Secure Boot Status
Before you begin, it’s a good idea to confirm whether Secure Boot is already enabled on your computer.
- Go to the search bar at the bottom of your screen.
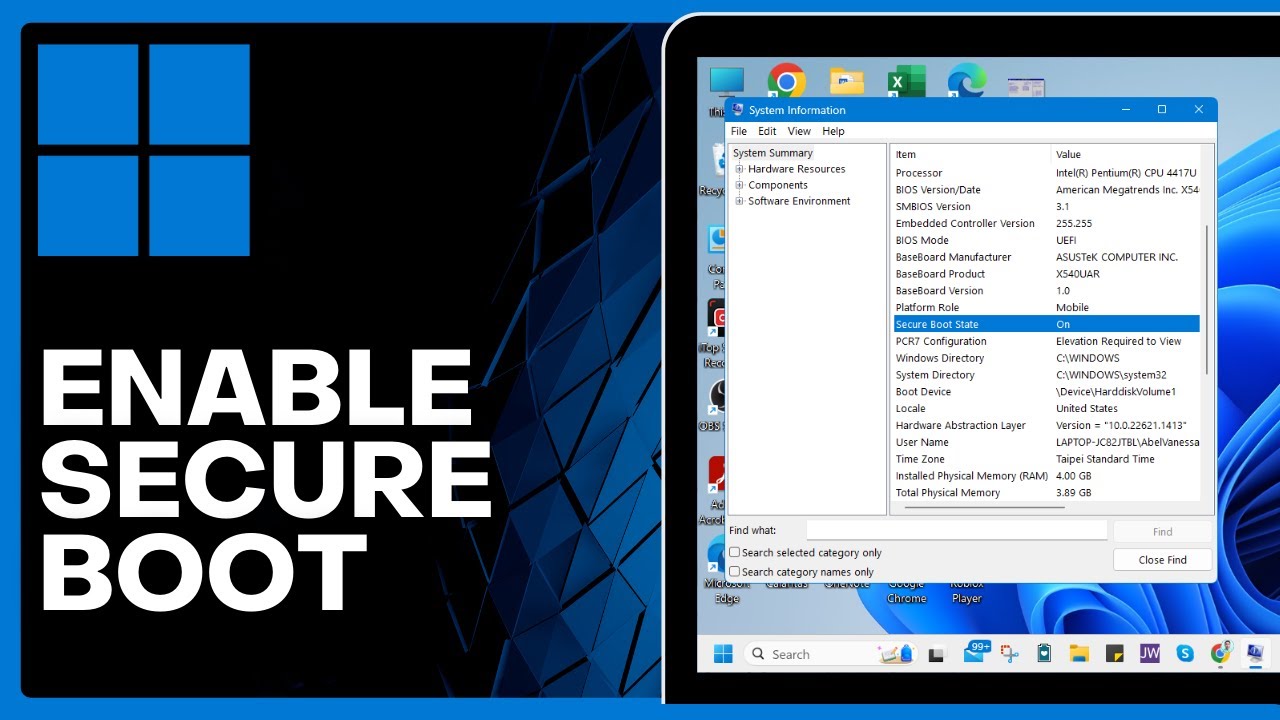
- Type "system information" and open the System Information application.
- In the System Summary, look for "Secure Boot State." If it says "Enabled," you’re all set! If it says "Disabled," continue with the steps below.
Step 2: Access Advanced Startup Options
To enable Secure Boot, you’ll need to restart your computer into advanced startup options.
- Return to the search bar.
- Type "recovery options" and select the Recovery options system settings.
- Under the "Advanced startup" section, click the "Restart now" button.
Step 3: Enter UEFI Firmware Settings (BIOS)
After your computer restarts, you’ll be presented with a blue screen offering several options.
- Click on "Troubleshoot."
- Select "Advanced options."
- Choose "UEFI Firmware Settings."
- Click "Restart" to reboot your computer directly into your computer’s BIOS/UEFI settings.
Step 4: Locate and Enable Secure Boot
Once inside your computer’s BIOS/UEFI, the navigation can vary slightly depending on your manufacturer.
- Look for an option like "Advanced Mode" if your BIOS loads in a simpler interface.
- Navigate to the "Security" tab or section. You might also find Secure Boot under a "Boot" or "Authentication" section.
- Scroll down until you find the "Secure Boot" option.
- Select "Secure Boot" and choose "Enabled" from the available options. You may need to change another setting like "OS Type" to "Windows UEFI mode" or "Other OS" to "Windows UEFI mode" before the Secure Boot option becomes available.
- Once enabled, be sure to save your changes (often an F10 key or an "Exit" menu option) and exit the BIOS. Your computer will then restart.
After your system restarts, Secure Boot will be enabled, adding an extra layer of security to your Windows 11 environment.