How To Verify Account On Wise 2025 => Watch On YouTube
How to Fully Verify Your Wise Account
Verifying your Wise account is a crucial step to unlock all its features and ensure smooth, secure transactions. While the process might seem extensive, it’s straightforward and designed to protect your money. Here’s a step-by-step guide to getting your Wise account fully verified.
1. Accurate Initial Account Setup
When you first sign up for Wise, precision is key. Make sure all the personal details you provide are accurate and complete. This includes your:
- Exact Location: Enter your current residential address or the location where your bank account is based. This is vital for compliance and account verification.
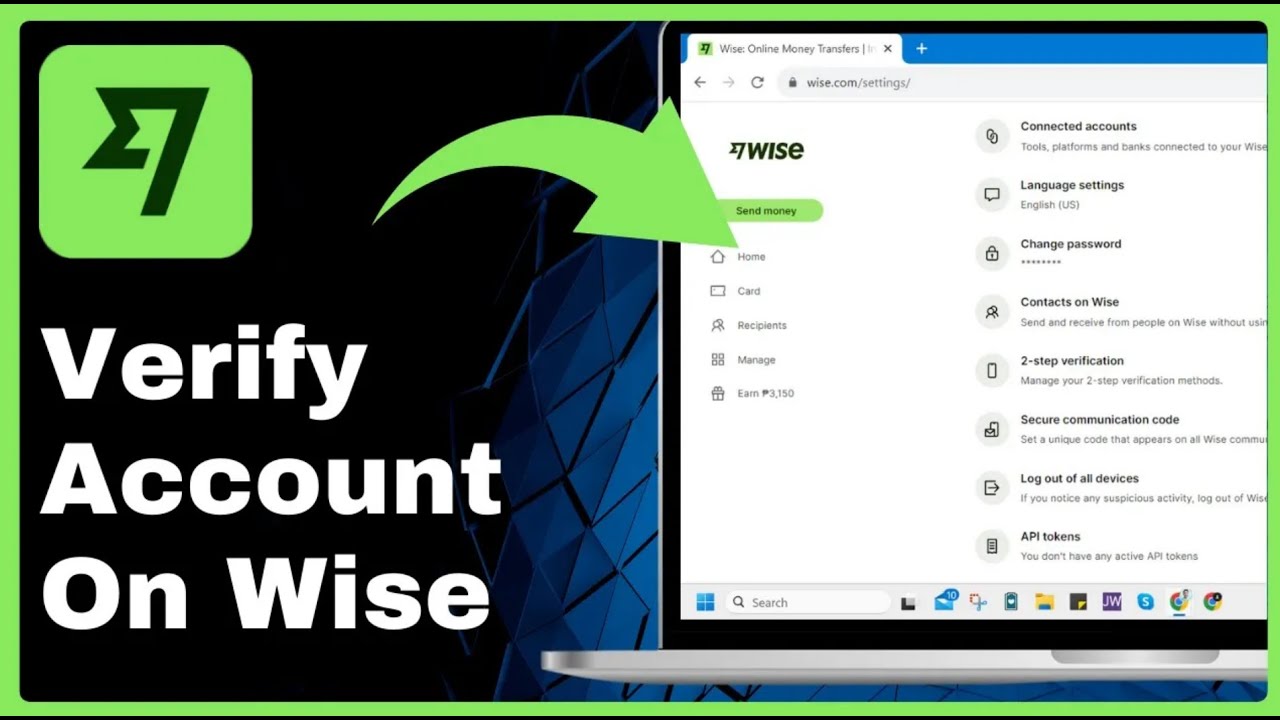
2. Verify Your Phone Number
A simple yet essential step, Wise will prompt you to verify your phone number. Just enter your number as requested, and follow the instructions to confirm it.
3. Verify Your Email Address
Once you’ve successfully logged into your Wise dashboard:
- Navigate to Settings: Click on your profile name, usually located in the top-right corner of your screen.
- Select "Settings."
- Go to "Email Settings": Under your settings, you’ll find an option related to email.
- Confirm Your Email: Wise will send a verification link to your registered email address. Click this link to confirm your email and mark it as verified. This is important for receiving communications and securely managing your account.
4. Connect Your Bank Account
To send and receive funds seamlessly, connecting your external bank account is necessary:
- Access Connected Accounts: From your Wise dashboard, look for an option like "Connected Accounts" or similar.
- Add a Bank Account: Select the option to add or connect a bank account.
- Choose Bank Location: Specify the country where your bank account is located (e.g., "United States").
- Instant Verification: Wise often offers an "instant verification" option. This usually involves securely logging into your bank account through Wise to link it. Follow the on-screen prompts to complete this process.
5. Set Up Recipients (for Sending Money)
While not strictly part of the initial account verification, setting up recipients makes your Wise account fully functional for sending money.
- Add a Recipient: If you plan to send money, you’ll need to add a recipient. This could even be "myself" if you’re sending money to your own account in a different currency or country.
- Choose Currency and Enter Bank Details: Select the currency you’ll be receiving and enter the recipient’s bank account name and details.
By following these steps, you’ll ensure your Wise account is fully verified, allowing you to send, receive, and manage your money efficiently and securely.