🔎 How To Zoom In And Out In Capcut Pc (2024 Tutorial) => Watch On YouTube
How to Master Zoom In and Zoom Out Effects in CapCut PC
Want to add a dynamic touch to your videos on CapCut PC? Learning how to smoothly zoom in and out can really elevate your content and draw your audience’s attention to specific details. It’s a straightforward process once you understand the power of keyframes. Let’s dive in!
Getting Started
- Import Your Video: First things first, open CapCut PC. Import the video clip you want to edit and drag it onto your timeline.
- Select Your Clip: Click on the video clip in the timeline to select it. This will open up its properties panel.
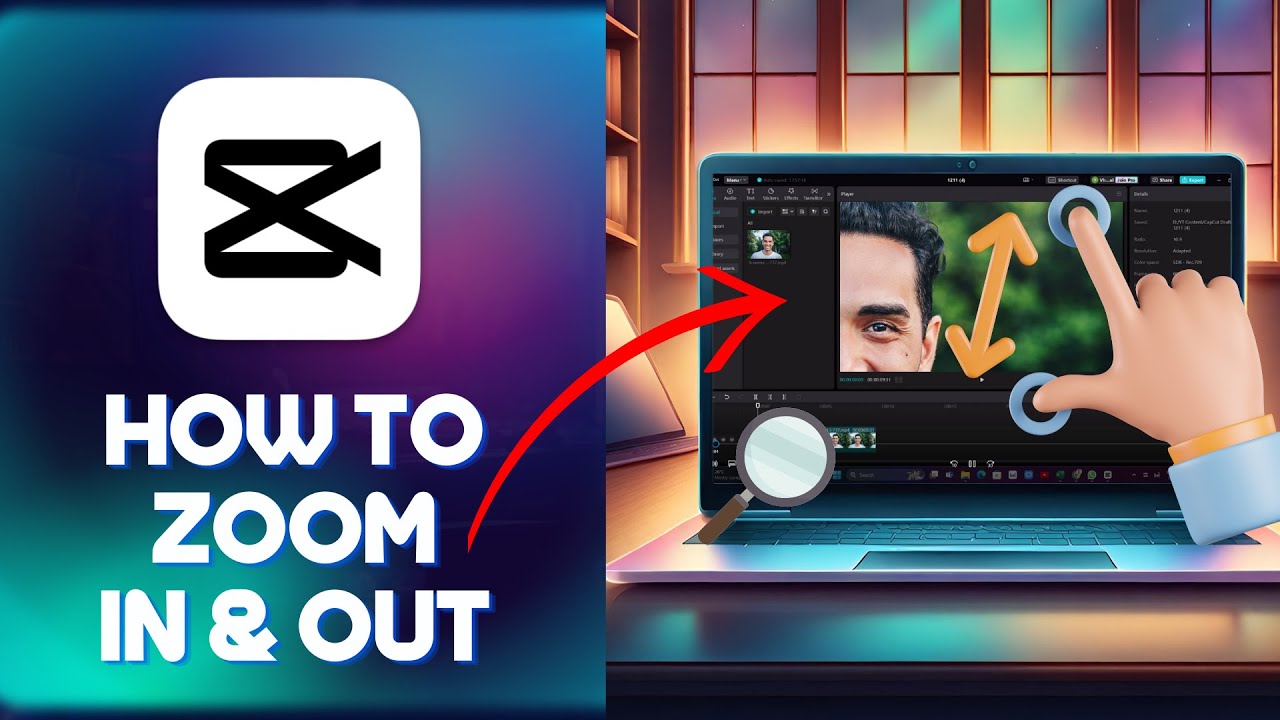
- Locate ‘Position and Size’: On the right-hand side of your screen, you’ll see a properties panel. Navigate to the ‘Video’ tab (it’s usually the default tab), and then scroll down to find the ‘Position and Size’ section. This is where you’ll control your zoom effects.
Zooming In
The magic of dynamic zooming happens with keyframes. Keyframes mark specific points in time where you want a property (like scale) to change. CapCut then automatically creates a smooth transition between these points.
- Set Your Starting Point: Move your playhead (the vertical white line in your timeline) to the exact point in your video where you want the zoom-in effect to begin.
- Add the First Keyframe: Next to the ‘Scale’ option under ‘Position and Size’, you’ll see an ‘Add Keyframe’ button (it typically looks like a small diamond icon). Click this button to add your first keyframe. This tells CapCut, "At this moment, the video is at this scale."
- Set Your Ending Point: Now, move your playhead to where you want the zoom-in effect to end (or reach its peak zoom level).
- Add the Second Keyframe & Adjust Scale: Click ‘Add Keyframe’ again. Then, simply increase the ‘Scale’ percentage to your desired zoom level (e.g., 120%, 150%, etc.). As you adjust the scale, CapCut will automatically create a smooth zoom animation between your two keyframes.
- Review: Play back your video. You’ll see a professional-looking zoom-in effect that highlights your chosen section!
Zooming Out
Zooming out follows a very similar pattern, using keyframes to smoothly return your video to its original size.
- Set Your Zoom-Out Starting Point: Move your playhead to where you want the zoom-out effect to start. This is usually right after a zoomed-in section.
- Add a Keyframe: Add another keyframe next to the ‘Scale’ option. This keyframe locks in the scale at that specific zoomed-in level.
- Set Your Zoom-Out Ending Point: Move your playhead to where you want the zoom-out effect to end (i.e., when the video is back to its original size).
- Add a Keyframe & Adjust Scale: Add a final keyframe. Now, simply adjust the ‘Scale’ percentage back down to 100% (or whatever scale you want to end at) to fit the video perfectly back into its frame.
- Review: Play back your video. CapCut will smoothly transition your video back to its original size.
And there you have it! Mastering these keyframe techniques for zooming in and out will give your CapCut PC edits a significant boost, adding visual interest and guiding your viewer’s eye. Experiment with different zoom levels and durations to find what works best for your content!